- Jun 12, 2014
- 9,544
- 25,151
Founding Member
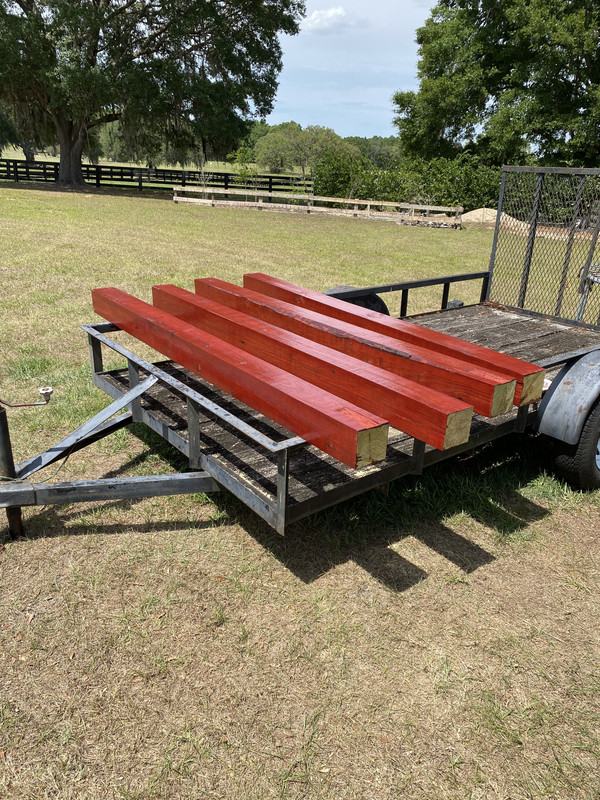
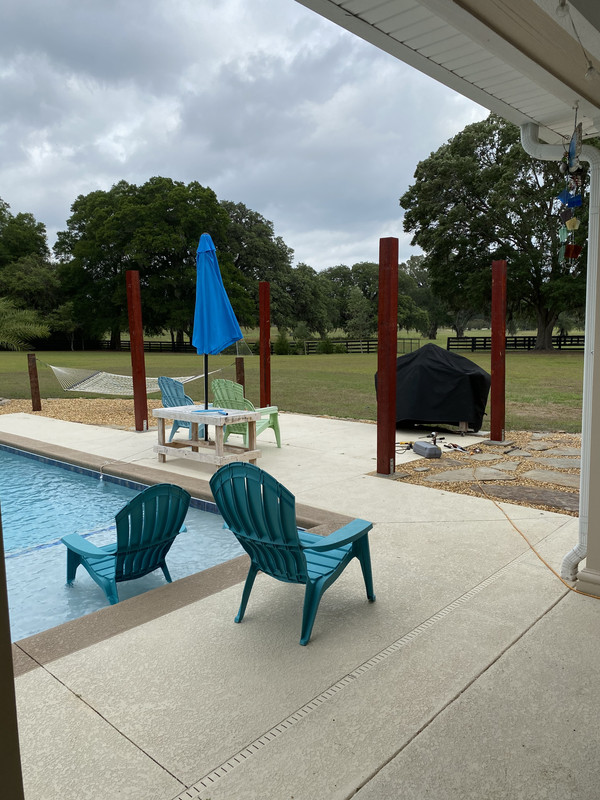
On to the next one. A pergola by the pool. This will be a long project.... but the hardest part is starting it. We had a 14x10 pad poured when we did the pool deck. So it will be custom built to fit that.
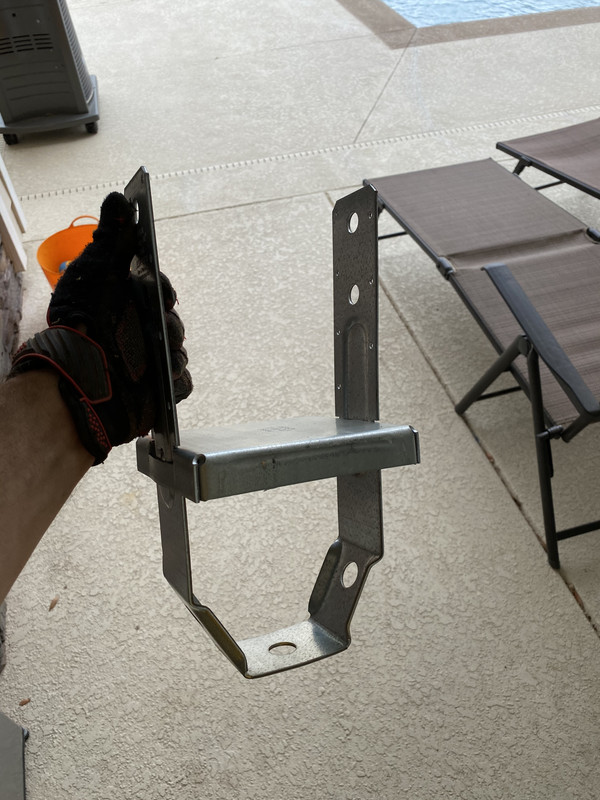
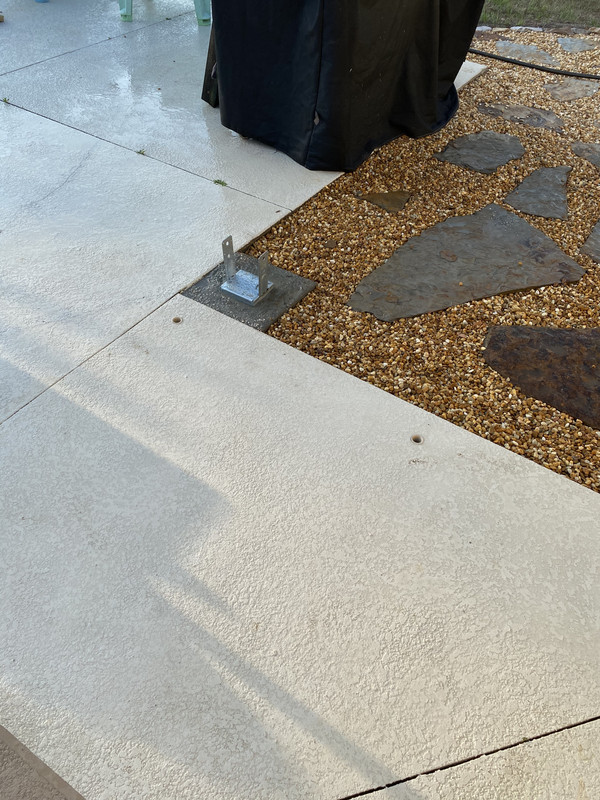
Step 1: footers. Specs for these straps (for 6inx6in posts) say set in a 14inx14inx14in hole. No problemo
The hole is cut at a small angle so the footer be slightly under the existing deck.
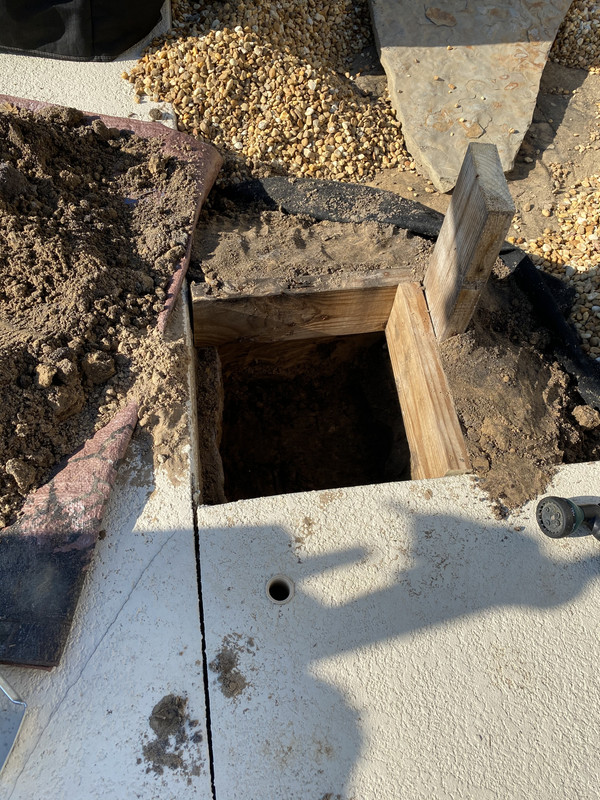
Which requires 3 50lb bags of concrete mix:

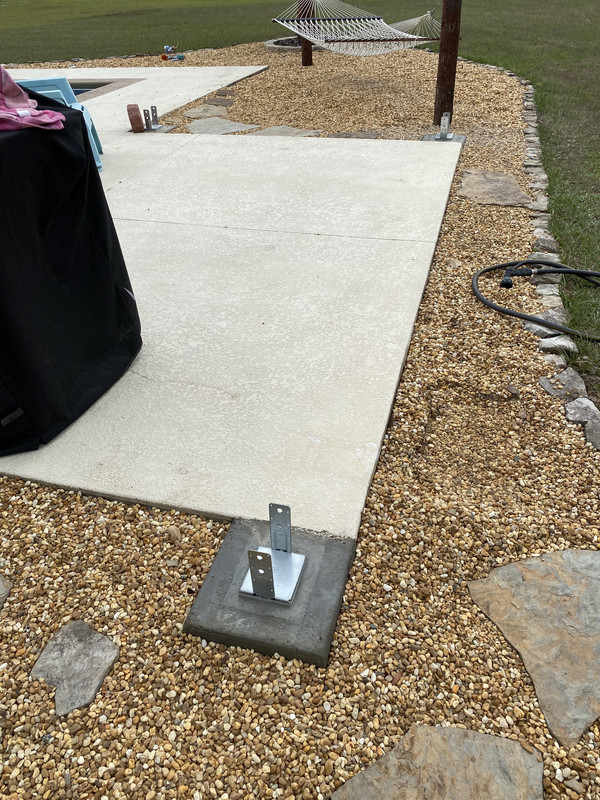
Rounded the corners:

That sucked. That is some back breaking shiit. Finished the other 3 today:
Step 1: footers. Specs for these straps (for 6inx6in posts) say set in a 14inx14inx14in hole. No problemo
The hole is cut at a small angle so the footer be slightly under the existing deck.
Which requires 3 50lb bags of concrete mix:
Rounded the corners:
That sucked. That is some back breaking shiit. Finished the other 3 today:
Last edited: